Image

What is GitHub flow?

GitHub flow is lightweight based on the branching workflow which supports teams and projects where deployments happen regularly. By using this flow, when a developer wants to add a new feature or wants to fix the bugs they can create a new branch on the same e-Commerce project.

Why GitHub flow?

By default - on GitHub, the complete e-Commerce project lives on the master or main branch. So if any changes to be done in the main branch, it will update directly to the project. It might cause new bugs raising in the live project which can be a reason for losing customers. So to avoid this type of situation, the GitHub flow concept is there.

In this concept, the team leader can add set up security rules for the main source code for each team member. This means, every team member cannot directly do the changes in project resource code without consulting with their team leader, or can not push the changes directly into production.

Steps for GitHub flow

GitHub flow having 6 basic steps

  • Creating a branch
  • Making commit for a file
  • Opening a pull request
  • Discuss & review your code
  • Deploy
  • Merging

1. Creating a branch

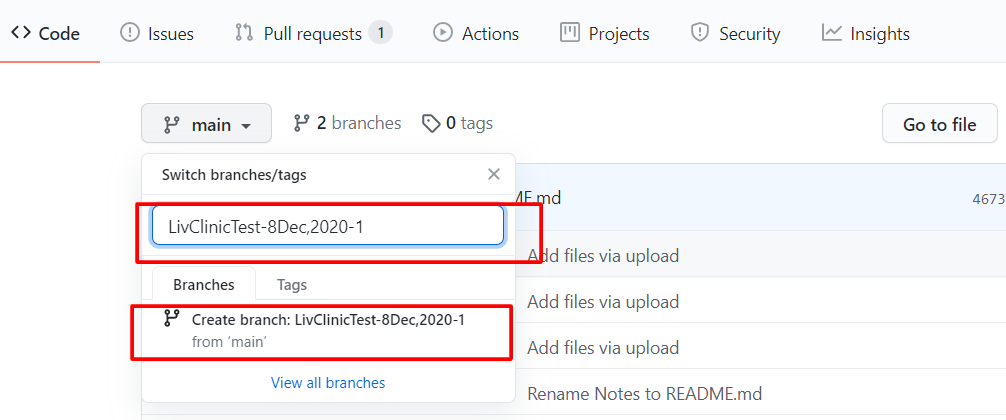
  • On GitHub, navigate to the repository of your working project where you would like to add a new feature
  • Click on the main branch.
  • Type the name which you want to give.
  • Click on the create branch.

2. Making commit for a file

  • For add, edit, rename, move, and delete we need to add a commit. want to edit Here you can upload a file or create a new file.
  • For all action for the file we need to follow the same process of adding a message and make commit changes.
  • Navigate to the file which you want to edit or delete and click on the corresponding icon.
  • You can rename a file. Here first click on edit and then rename your file and commit the change.
  • Also here we can move a file. Here first click on edit and then add your file location where you want to move and commit the change.
  • After adding “/” the file will navigate into the template folder.

3. Opening a pull request

  • Go to pull requests on your repo.
  • Click on New pull request.
  • Select which branch you want to compare with the main branch and then click on “Create pull request”.

4. Discuss & review your code

  • Go to Pull request.
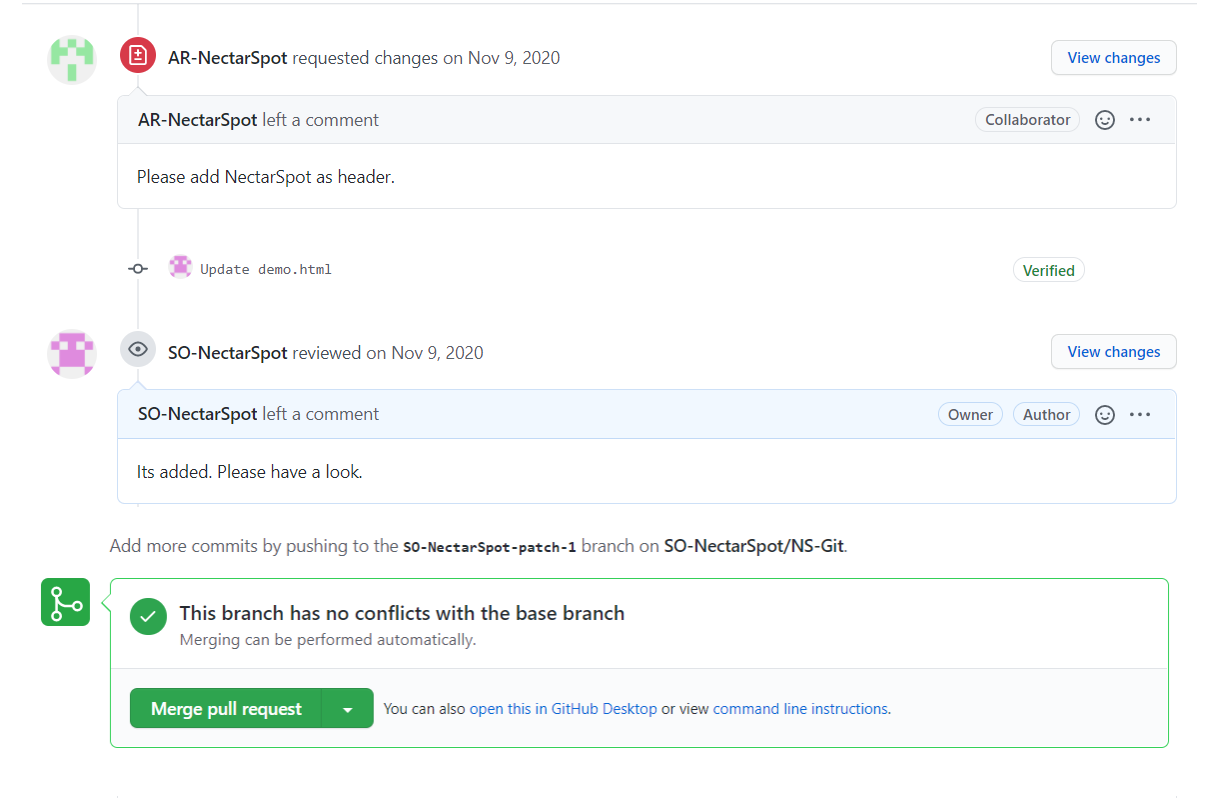
  • There you can view the pull request and the message and team member can review the code and can give the feedback.

5. Deploy

  • Before moving to production you should test it in staging area.
  • You can deploy it in cloud like GCP, AWS.

6. Merging

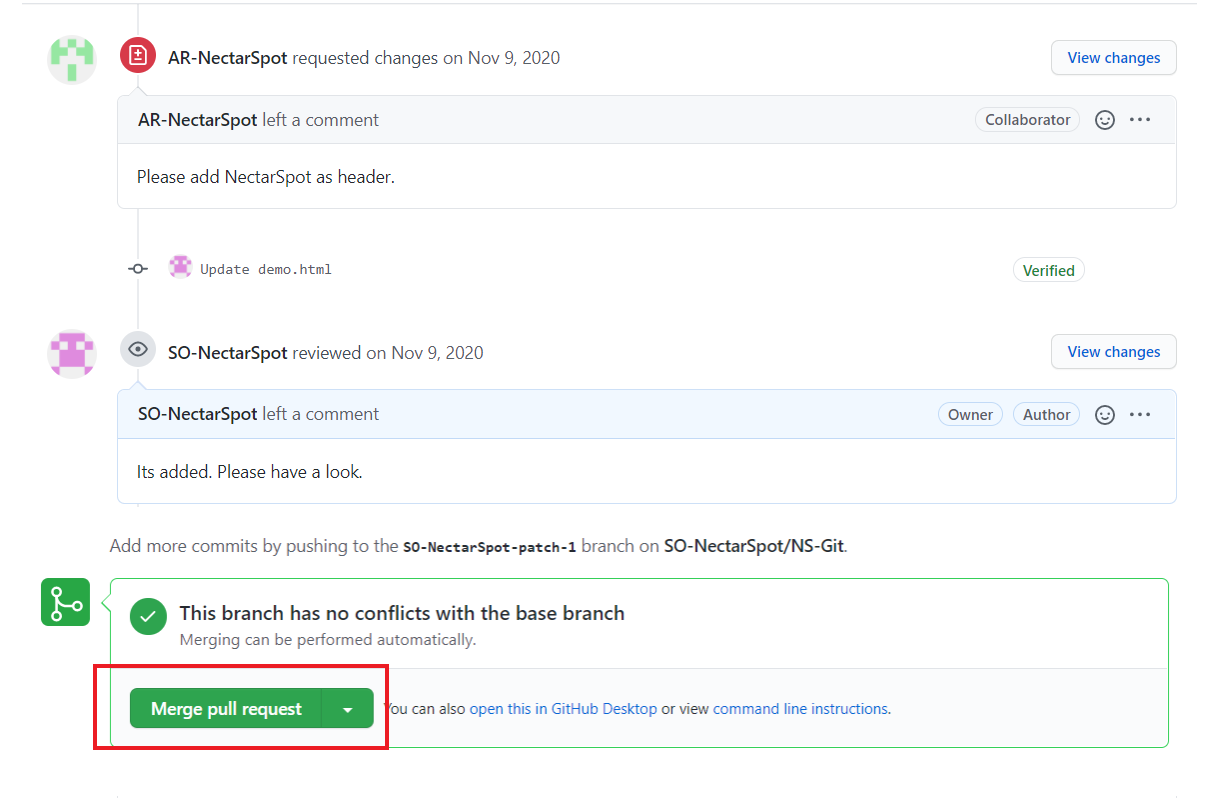
  • Under pull request you can view the opened pull request button and click the merge pull request.
  • Once it’s merged to the main branch you and your team can see the successful message.

Receive latest marketing insights, data and inspiration

View Blogs ➞ Subscribe ➞

Start your Project Today

Get Started