
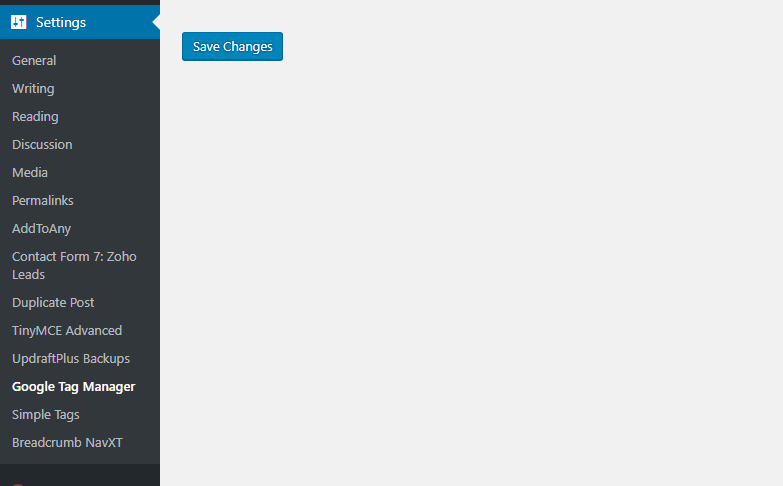
Unless you are proficient with modifying WordPress Themes, is how to install Google Tag Manager in a WordPress site.

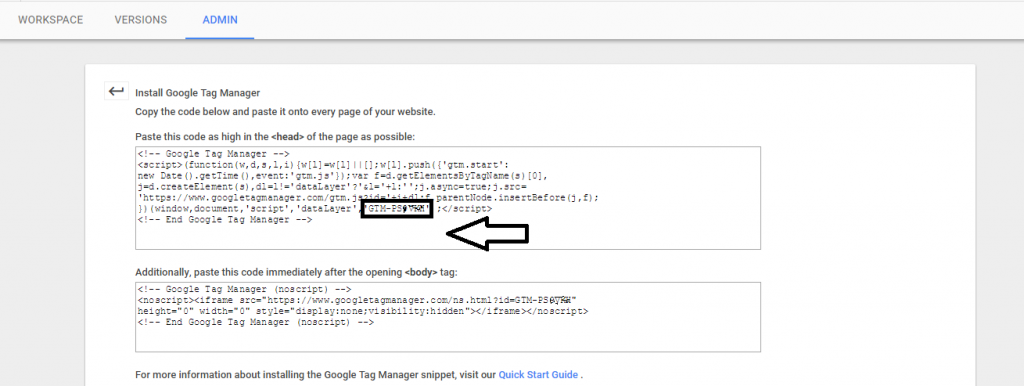
Now your container is set up, open it and go to Admin.Now Click on the gear symbol next to “Install Google Tag Manager”.

This is the code snippet,now just copy the GTM Id and paste that in WordPress Plugin

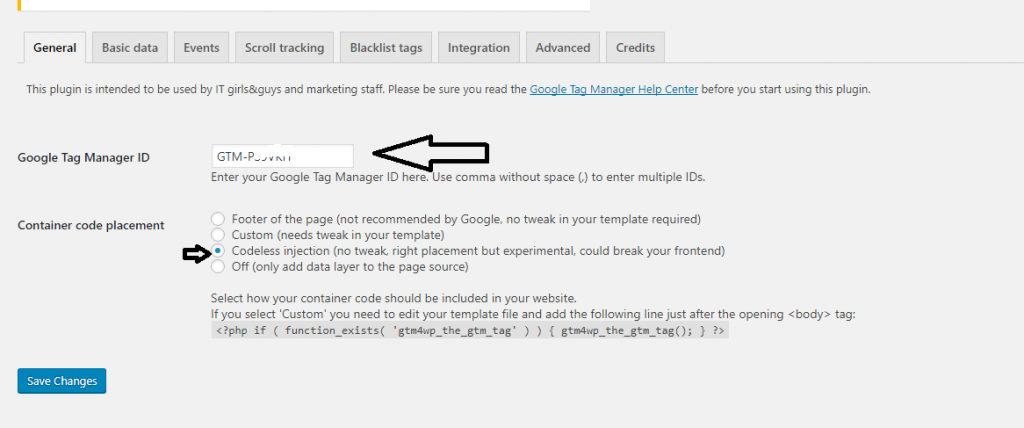
Paste the code,and select the options ,
Footer of the page (not recommended by Google, no tweak in your template required),choose
Codeless injection (no tweak, right placement but experimental, could break your frontend)
Select how your container code should be included in your website. If you select ‘Custom’ you need to edit your template file and add the following line just after the opening tag:
Note : Codeless injection doesn’t effect your theme in many cases,it places the code exactly.
If it effects your theme go and use custom tag and just place the php function in the body tag at the starting.
you can place it either at the child theme or main theme,in both cases it works fine
Testing Google Tag Manger is installed correctly or not using Tag Assistant
Now Test that Google Tag Manager is Correctly Installed in WordPress
Now use Tag Assistant (by Google) to make sure that Google Tag Manager is installed correctly.
Open the Chrome browser, and install Tag Assistant. Once Tag Assistant is installed, simply navigate to a page on your site, and click on the tag icon at the top of your browser. You should see a green tag labeled “Google Tag Manager”, indicating that GTM has been successfully installed.
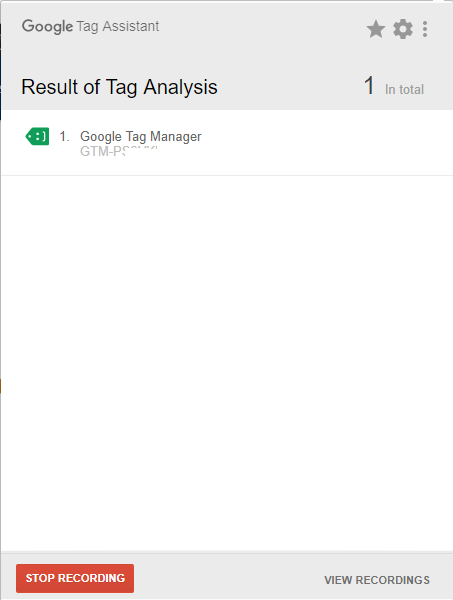
That’s it now you can see that the Tag was Added Successfully.
NectarSpot Inc. is an integrated digital marketing company specializing in Design & Development of Web, Mobile & Voice Applications.
Our award winning team excels in providing redesign, optimization, automation, and analytics services to companies at various growth stages.
Contact us today to get your project started.


Copyright © 2026 Website by NectarSpot Marketing, Automation, and Design Company