When we create a product, we need to give the theme template. Here we are using Default Template which is provided by the Shopify.
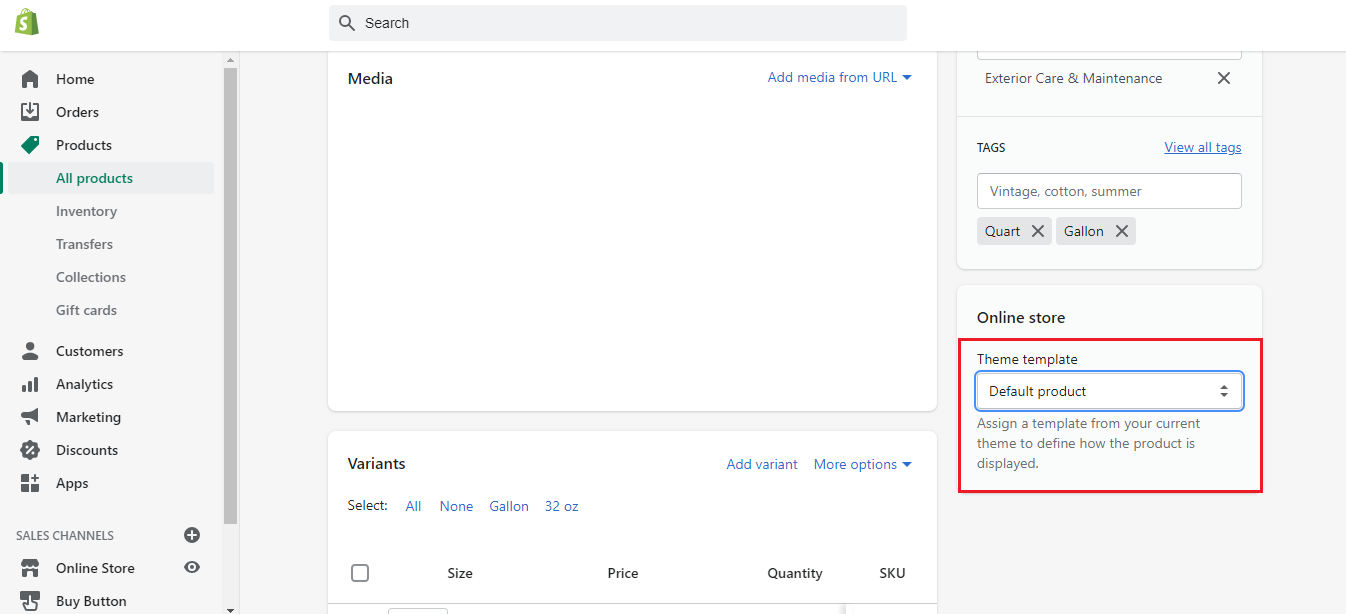
Default Template indicates the "product.liquid" template which is present in the Templates folder.

Product Template which is included in the product.liquid file, will be present in the Sections folder. It contains the code for the product image, description, add to cart button and also have snippets for "Related Products" and "Customer Reviews".
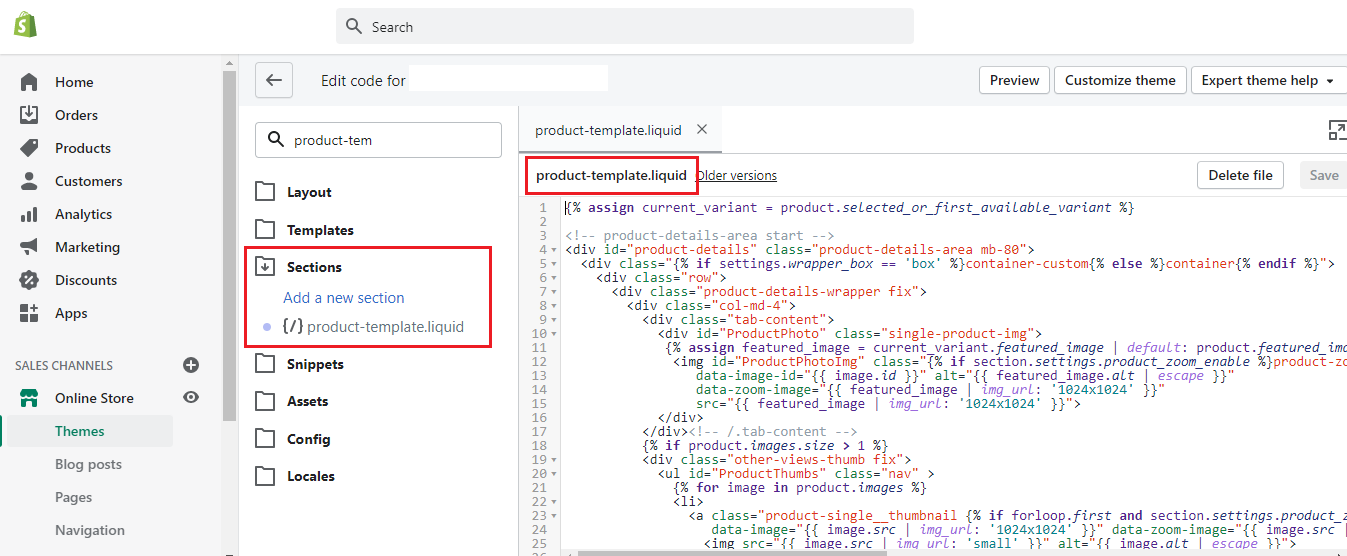
Add the below part of code in the product-template.liquid file
{% assign ProductExtraSection = 'product-content-' | append: product.handle %}
{% capture ProductExtraSectionContent %}
{% include ProductExtraSection %}
{% endcapture %}
{% unless ProductExtraSectionContent contains "Liquid error" %}
{{ ProductExtraSectionContent }}
{% endunless %}

After adding the above code, we need to create a snippet with the name "product-content-product.handle"
For Example, if the product handle is "product-one". Then, the name of the snippet should be "product-content-product-one"
Name of the snippet to be created: "product-content-product-one"
Now, add the code which we want in the middle of the product page in the created snippet.
After following the above mentioned process, we can create extra sections for different product pages.
Below is the screenshot of two different product pages, the content which is highlighted is fetched through the product snippets created by following the above mentioned steps and "Specifications" and "Related Product" sections code is fetched dynamically from the product-template.liquid file.

NectarSpot Inc. is an integrated digital marketing company specializing in Design & Development of Web, Mobile & Voice Applications.
Our award winning team excels in providing redesign, optimization, automation, and analytics services to companies at various growth stages.
Contact us today to get your project started.


Copyright © 2026 Website by NectarSpot Marketing, Automation, and Design Company