AMP or Accelerated Mobile Pages is an open-source library that provides a straightforward way to create web pages that are compelling, smooth, and load near instantaneously for users. AMP pages are just web pages that you can link to and are controlled by you.
As per amproject.org :
“AMP project enables the creation of websites and ads that are consistently fast, beautiful and high-performing across devices and distribution platforms”
Want to learn more about AMP pages,have a look at this https://nectarspot.com/blog/amp/how-to-create-amp-landing-pages-for-higher-conversion/
Google Compute Engine, which is an infrastructure-as-a-service (IaaS) offering that provides users with virtual machine instances for workload hosting.
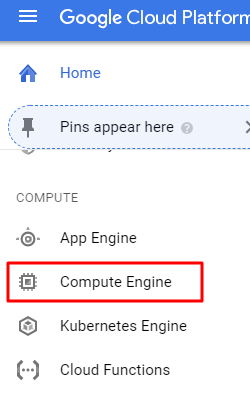
Go to Dashboard,on the left sidebar select APP Engine OR Compute Engine.In my case i am using Compute Engine.
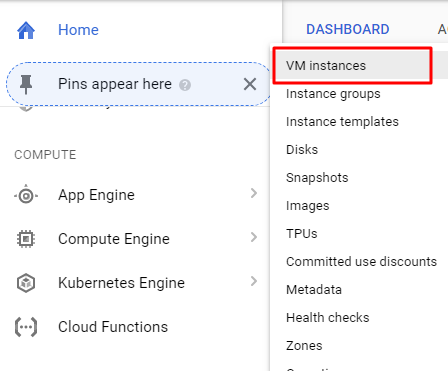
Compute Engine -> VM Instances
sudo certbot –apache
You can find Compute Engine is getting ready.It might take a minute
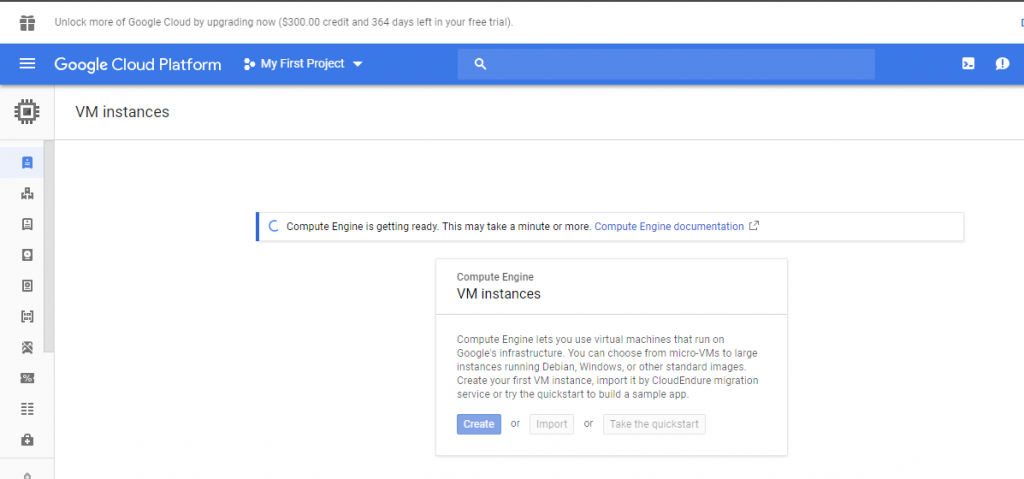
Once the Setup is done you will get the dashboard.
Lets Make it Simple.Follow the below steps :
Name – give the name of the instance
Region – Compute Engine and Cloud Storage are eligible for Always Free in us-east1, us-west1, and us-central1 regions. The usage limits are for all three regions combined. For example, for a month of Cloud Storage usage, you can use 5 GB of Regional Storage in us-central1 or 2 GB in us-central1 and 3 GB in us-west1.
Zone – With the region you can choose the availability zones
Memory – 0.6 GB
Boot Disk – Select Ubuntu
Fire Wall – Allow both HTTP & HTTPS
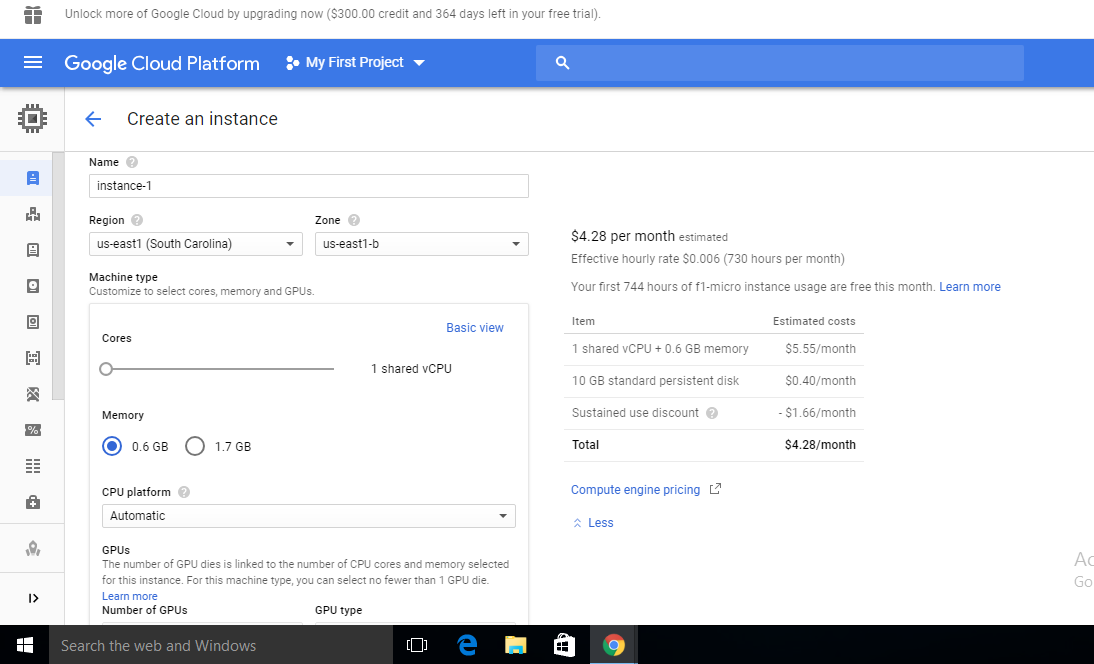
Once Done HIT Submit ,Your Instance is ready it will setup in a minute or two with an IP Address.
You Will find the IP address as not able to load any page. Throwing Error Connection Timed out
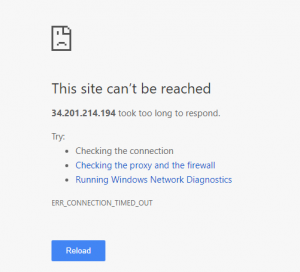
Relax..The reason is simple,we created a instance but we didnt had apache2 installed on the instance,so lets see how to install apache2.
In the list of virtual machine instances, click SSH in the row of the instance that you want to connect to
You can connect to Linux instances through either the Google Cloud Platform Console or the gcloud command-line tool. Compute Engine generates an SSH key for you and stores it in one of the following locations:
By default, Compute Engine adds the generated key to project or instance metadata. If your account is configured to use OS Login, Compute Engine stores the generated key with your user account.
Choose GCP console,it opens in a terminal window make sure your browser allows pop ups
Follow the Commands by just copy and paste in the console :
1.Sudo Su
2.Sudo apt-get update
3.Sudo apt-get install apache2
then click [Y/N] Y
Now once you give the IP Address you can see Apache Ubuntu default page.when you click on the url it takes to HTTPS straight away.so just click http://thenwithyouripaddress.
Try to Upload Files through FileZilla ,its the easy and faster way to upload large files.So lets now see how to connect FileZilla to a Google Cloud Compute Engine Instance
Generate a New Key Pair to make a connection with Instance
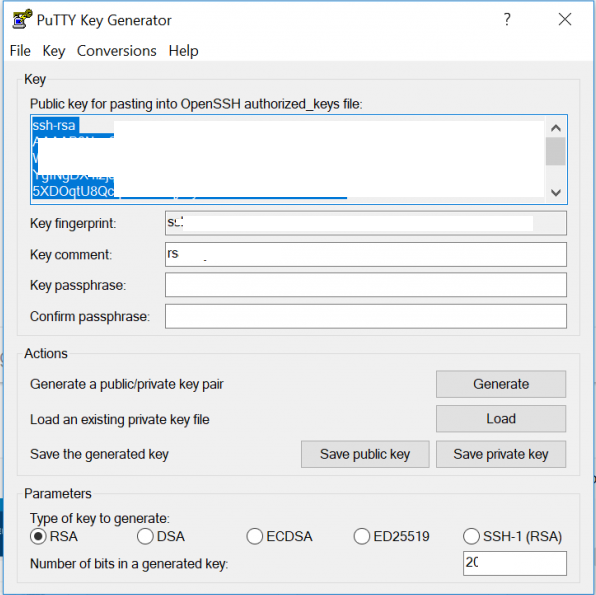
Making it Simple,Open Putty if not download putty on your system and then generate a new key pair.
Open Puttygen – Click On Generate a Public/Private Key Pair and then Copy the public key and key comment
Save the Private Key also to access the instance it is required
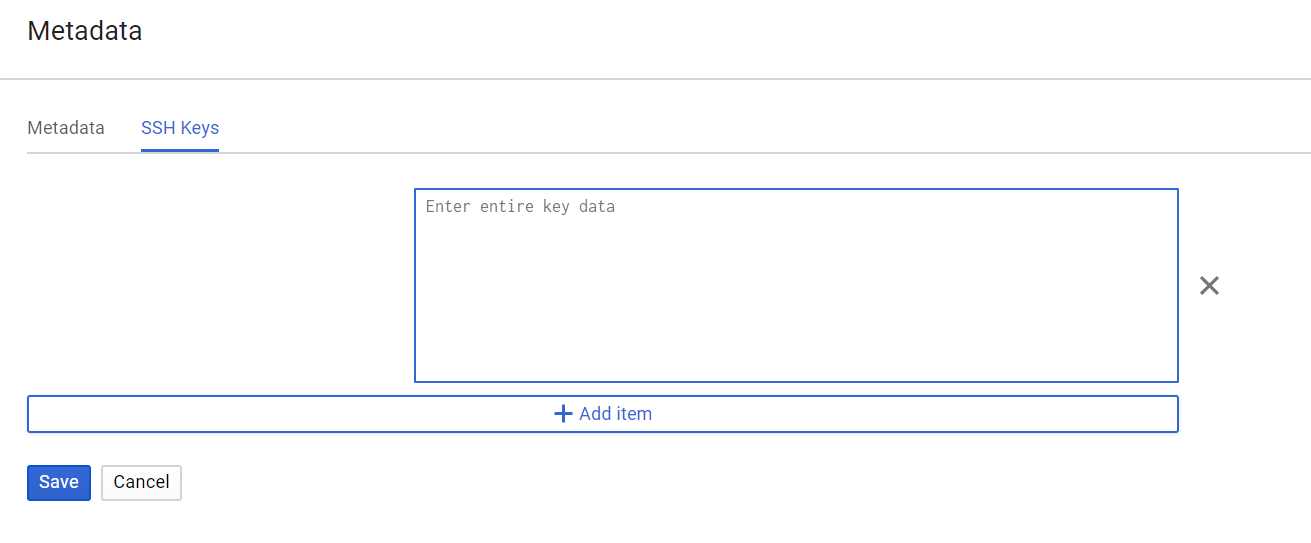
Import Key Pair in GCP Compute Engine
Go to Metadata in Compute Engine,where you can find SSH tab and then just paste the public key you generated from the putty in above step and then click save.
Import Key Pair in GCP Compute Engine
Go to Metadata in Compute Engine,where you can find SSH tab and then just paste the public key you generated from the putty in above step and then click save.
Now lets Connect with FileZilla
Now the keypair which i asked you to save as private key ( .PPK ) while generating key pair comes into action
Go to FileZilla – Edit – Settings – SFTP – Add Key Files ( only .PPK is allowed) and then hit OK
Next Steps :
Host – sftp://youripaddress ( example : 34.567.34.25)
Username – Key Comment of Generated key Pair ( example :rsa-key-237883)
Click Connect
Now the connection is established ,if your not able to connect please check this three things.
SSH Public key Imported in Metadata Compute Engine.
Check if Private Keypair ( .ppk ) is added or not in filezilla.
Username is given in the right way or not
Upload Files to server using FileZilla :
Files should be uploaded at var/www/html folder of your instance which is root folder, just drag and drop the files into var/www/html folder.You can see files are uploaded with your http://youripaddress
Can’t Upload in Server,is FileZilla throwing permission denied.
Yes it throws error we need to have permission for our username to have read write access to the var/www/html folder.
Just Follow the steps simply :
Go to Your Console and connect to your instance just like how you connected and used commands to create apache2 ubuntu default page.
Once landed on the tool – try this commands :
sudo chmod -R 755 /var/www
sudo usermod -a -G www-data rsa-key-20172772
Note : rsa-key-20172772 refers to your username or key comment
BG Advisros CPA AMP web application is created and hosted on Google Cloud by NectarSpot team using same procedure can be accessed at https://www.bgadvisorscpa.com/
Learn More About
https://nectarspot.com/blog/cloud/how-to-configure-apache2-to-use-custom-error-pages-on-ubuntu
NectarSpot Inc. is an integrated digital marketing company specializing in Design & Development of Web, Mobile & Voice Applications.
Our award winning team excels in providing redesign, optimization, automation, and analytics services to companies at various growth stages.
Contact us today to get your project started.


Copyright © 2026 Website by NectarSpot Marketing, Automation, and Design Company